(I'm sewing presents.)
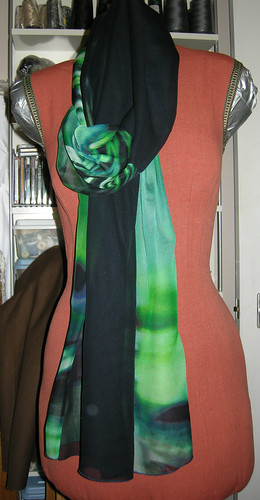
First up, I made silk chiffon scarves based on the "Quick to Make" feature of Threads Magazine in the October-November 2003 issue. I've scanned the instructions and they can be found here:
Page 1;
Page 2. The Threads instructions are fine if your 2 fabrics are the same width. However, if they are not you have to sew them together before making the centre loop. I did it this way:
- Choose 2 coordinating silk chiffon fabrics - you will need 2 40cm lengths.
- Sew the pieces together along one selvedge edge giving you a 40cm wide scarf whose length is the width of each fabric added together.
- Fold this long scarf in half to locate the mid-point, which will not be at the seam if your fabrics are different widths to start. Mark this point.
- Now fold the scarf in half lengthwise, and sew a seam 30cm long at the centre of the entire length (i.e. 15cm to either side of the mid-point you marked at the last step).
- Turn the scarf right side out. It will have a 30cm long tube in the middle.
- Continue as per the Threads instructions, step 4.
I used a short 1.5mm stitch length to sew the seams, then sewed a second line of stitches parallel to the first, approximately 2-3mm away from it. Then I trimmed the seam allowances very close to the 2nd line of stitching. For the hems, I used a narrow 2-thread rolled hem sewn on the serger.
I had fun choosing the chiffon fabrics to coordinate.
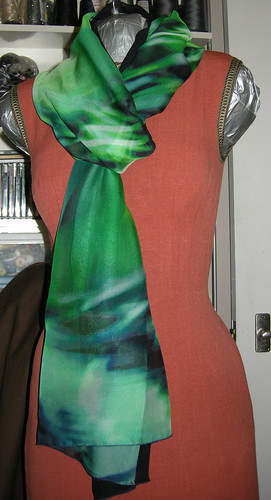
When worn, the look varies pending on which side of the scarf is worn "out".
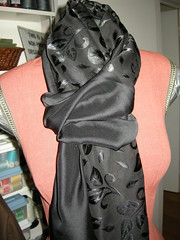
Here are the other two.

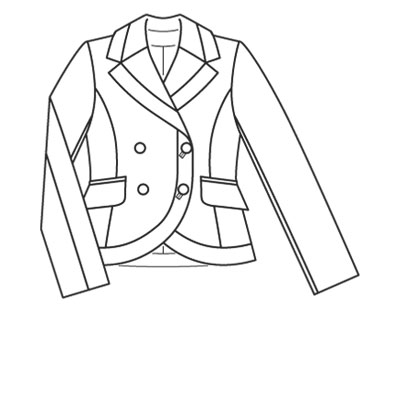
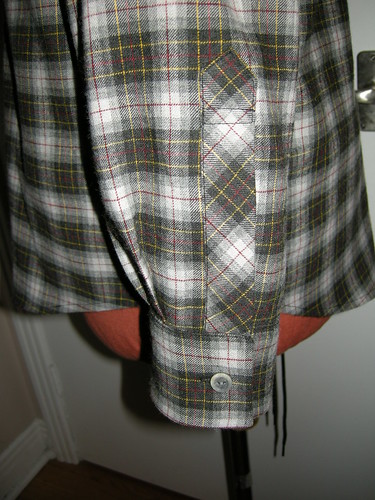
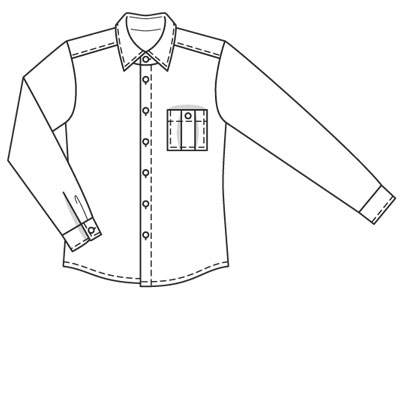
I am also almost finished a shirt for my son. I picked up some lovely plaid Viyella (cotton & wool) at the Fabric Flea Market this year. I'm using a pattern from the March, 2009 issue of BurdaStyle (as they now insist on calling it). Here's the line drawing.
It's a perfectly ordinary men's shirt. It's described as "slightly fitted" and has 2 vertical darts in the back, which I did not sew.
Now my fabric is an even plaid and I carefully matched it while cutting - except I FORGOT to think about how there should be a smooth match at the CF. ACK!
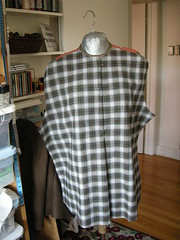
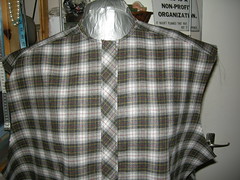
So here's the shirt fronts showing how the unmatched fronts end up with two heavy dark vertical lines running together.
And here is my fix/disguise. I cut a bias band for the CF which fills the space between two dark vertical bands perfectly, and disguises the fact that the whole thing is off centre. HA! When the buttons are on, the disguise will be perfect!
I used David Coffin's
Shirtmaking book for better instructions than Burda's.
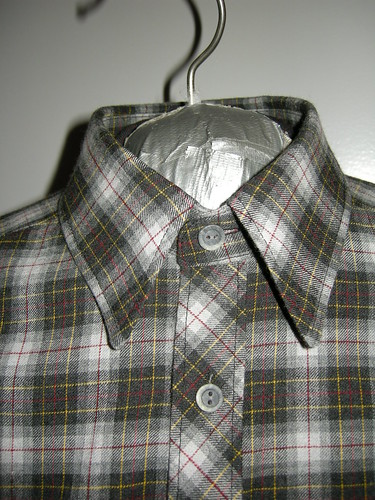
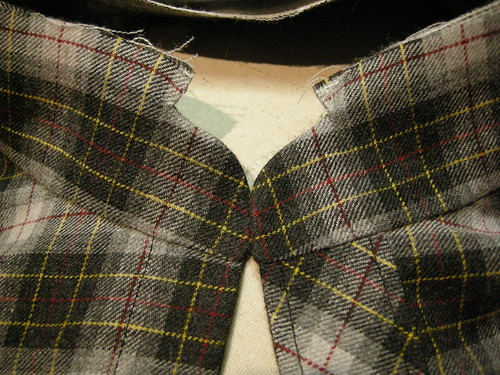
I like the collar technique from this book - for once the collar stand curves smoothly down to the front edges - no ugly lumps and bumps. I'll post pictures of the finished shirt with details soon, but here is the method.
First, you attach the collar stand to the shirt body, and the inner collar stand to the inside of the shirt body. Then, carefully rolling the shirt
inside the collar stand, right sides together, you sew around the leading edge of the stand ending at the exact point where the collar will attach to it. Trim and grade those seam allowances very close to the stitching. If you trim down to 3mm or so, there is no need to clip in the curved area. Clip to the point where you stopped stitching, however. Then turn the whole thing out and admire your handiwork. Here's a picture of the collar stand at this stage.
Nice, huh?
Next, sew the collar. I used 1cm seam allowances around the entire collar, collar stand, and neck edge. Of course, I then promptly forgot and sewed the collar (the first one) with 1.5cm seam allowances. DOH!
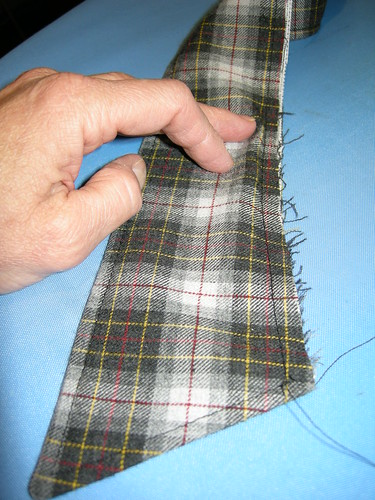
I did the second one properly, and I even remembered to scootch the top collar down so there would be room for the turn of cloth once it was sewn into the stand.
Here's a picture. Hopefully you can see that the top layer is bigger than the bottom layer. When this is folded down inside the collar stand it lies perfectly smoothly with no rippling and no bulk underneath. Magic!
The collar is then sewn to the inner stand (top collar to inner stand) and the outer stand seam allowance is simply pressed down and the whole thing is edgestitched.
At this point I have the shirt mostly finished - just the buttonholes and buttons to do.
I used my seam ripper A LOT while sewing this shirt. However, it is turning out well. I SURE hope it fits and he likes it!
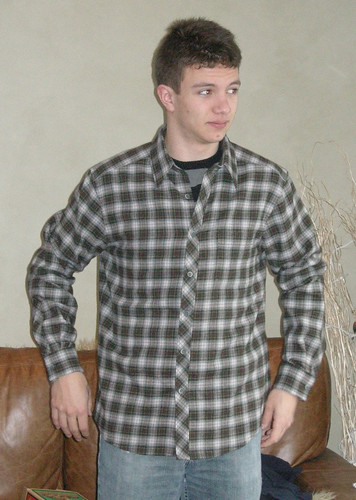
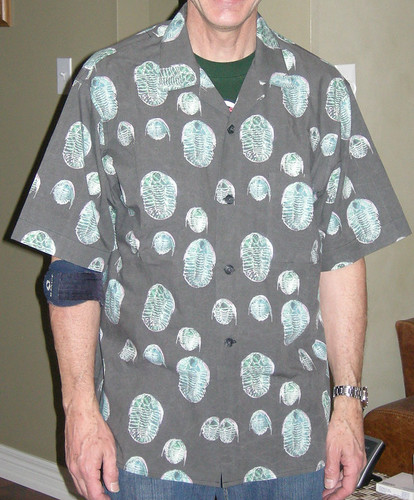 Same for the Trilobite shirt. I knew exactly how it would fit, having made this pattern gazillions of times before.