Without further ado... some details.
The silk organza/dupioni both frayed terribly. To keep everything neat and tidy I first trimmed the seams to get rid of the developing fringe, then (as you have already seen) I hand-overcast the seam allowances to prevent further fraying. Susan Khalje's on-line course at PR definitely came in handy. It's not rocket science but it was nice to have her illustrated materials as confirmation that what I was doing was expert-approved.
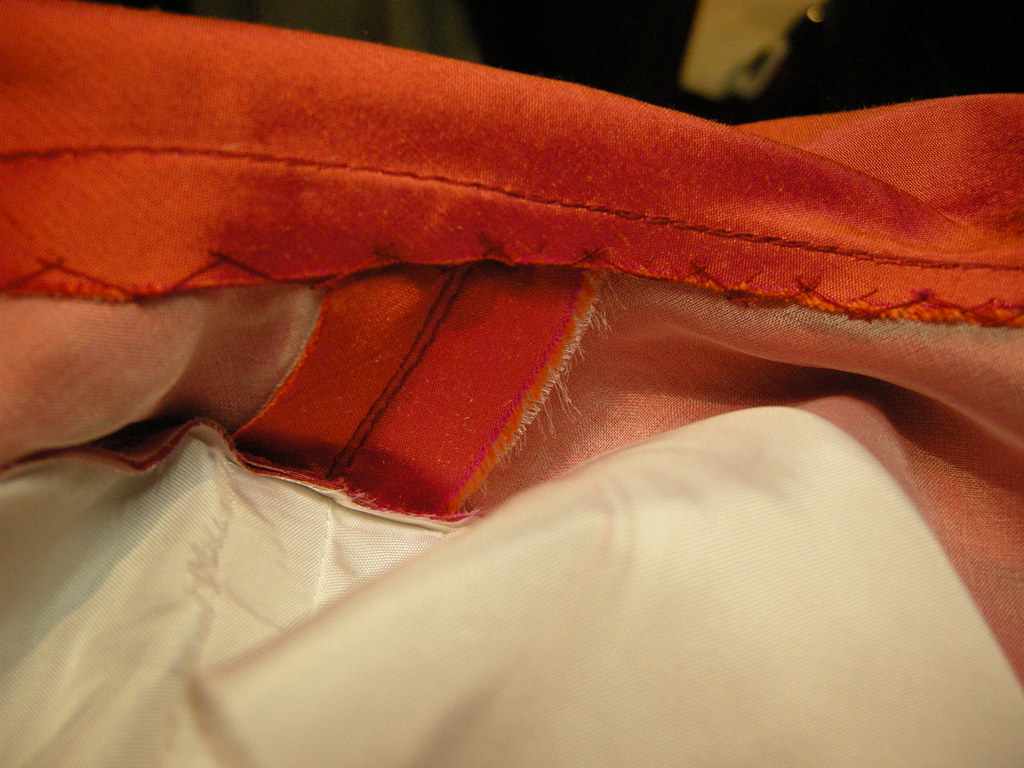
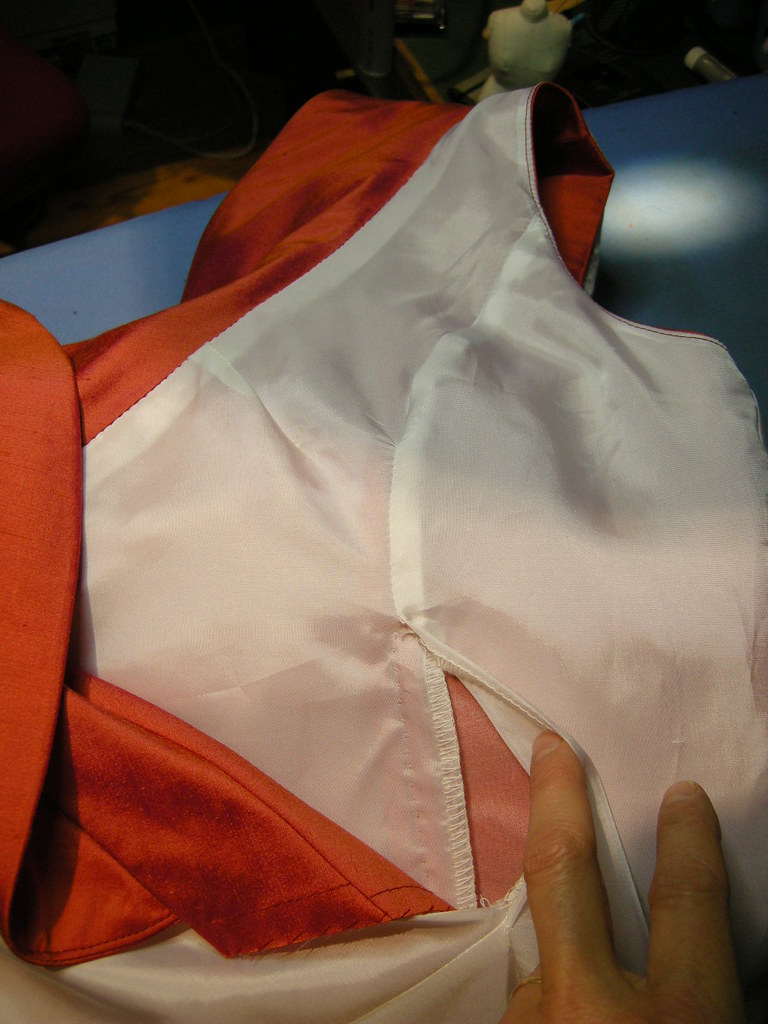
 Since I was into hand-sewing (so liberating to find out that Susan K, like me, cannot figure out how to use a thimble), I'll just mention that I also hand-felled the lining to the neckline and zip (see left, ignore the slightly wobbly understitching at the armscye edge). Before that, I catch-stitched the (trimmed and overcast) seam allowance of the neck/collar to the underlining to keep them in place (at right).
The most complicated part of making this dress was figuring out how to line the bodice, which has an outer pleated layer and an inner darted layer. This is one pattern where I paid close attention to the instructions which did guide me through, although I had my doubts at points that the illustrations were correct or that the dress would turn out as advertised. It did. If you choose to make this pattern, follow the instructions religiously. Some photos:

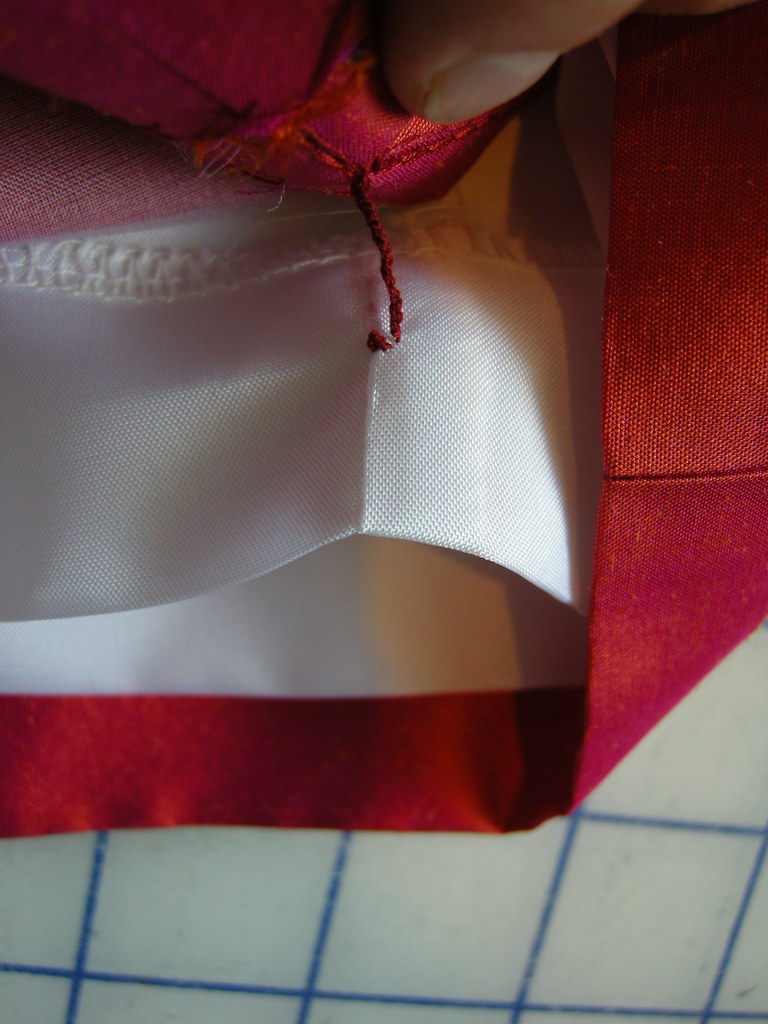
At left, you can see the right side (overlap) lining. The left side (underlap) is folded down and out of the way. You can see that there is an opening in the lining seam on the right side. (being held down.) I'm going to hand-sew the lining of the overlap at the SA, place the underlap on top, then close the opening in the lining seam to finish it all.
At right, I have pinned the left front (underlap) to the princess seam at the right front. This hides the right side lining which was already tacked down in the same place. Next, I will hand sew the left front down where it's pinned.

The completed inside lining can be seen on the left.

 Other hand-sewn details included that the lining is attached with thread chains to the hem to prevent it from sliding out when I sit down, and I attached a snap at the inside of the collar at the back to keep the edges together.
And finally, some views of the completed dress. It did not win a prize for me at the contest - there was very stiff competition!

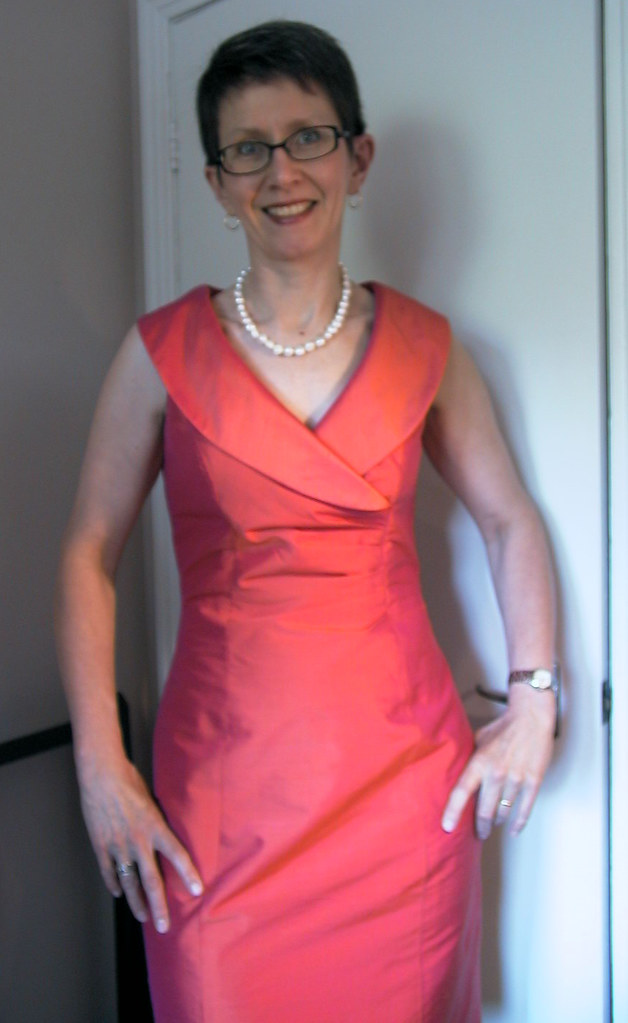
Hopefully, someone caught a snap or two of me at the event...
No comments:
Post a Comment